> ## Documentation Index
> Fetch the complete documentation index at: https://docs.cnap.tech/llms.txt
> Use this file to discover all available pages before exploring further.
# Create a Cluster
> Set up a managed Kubernetes cluster in minutes
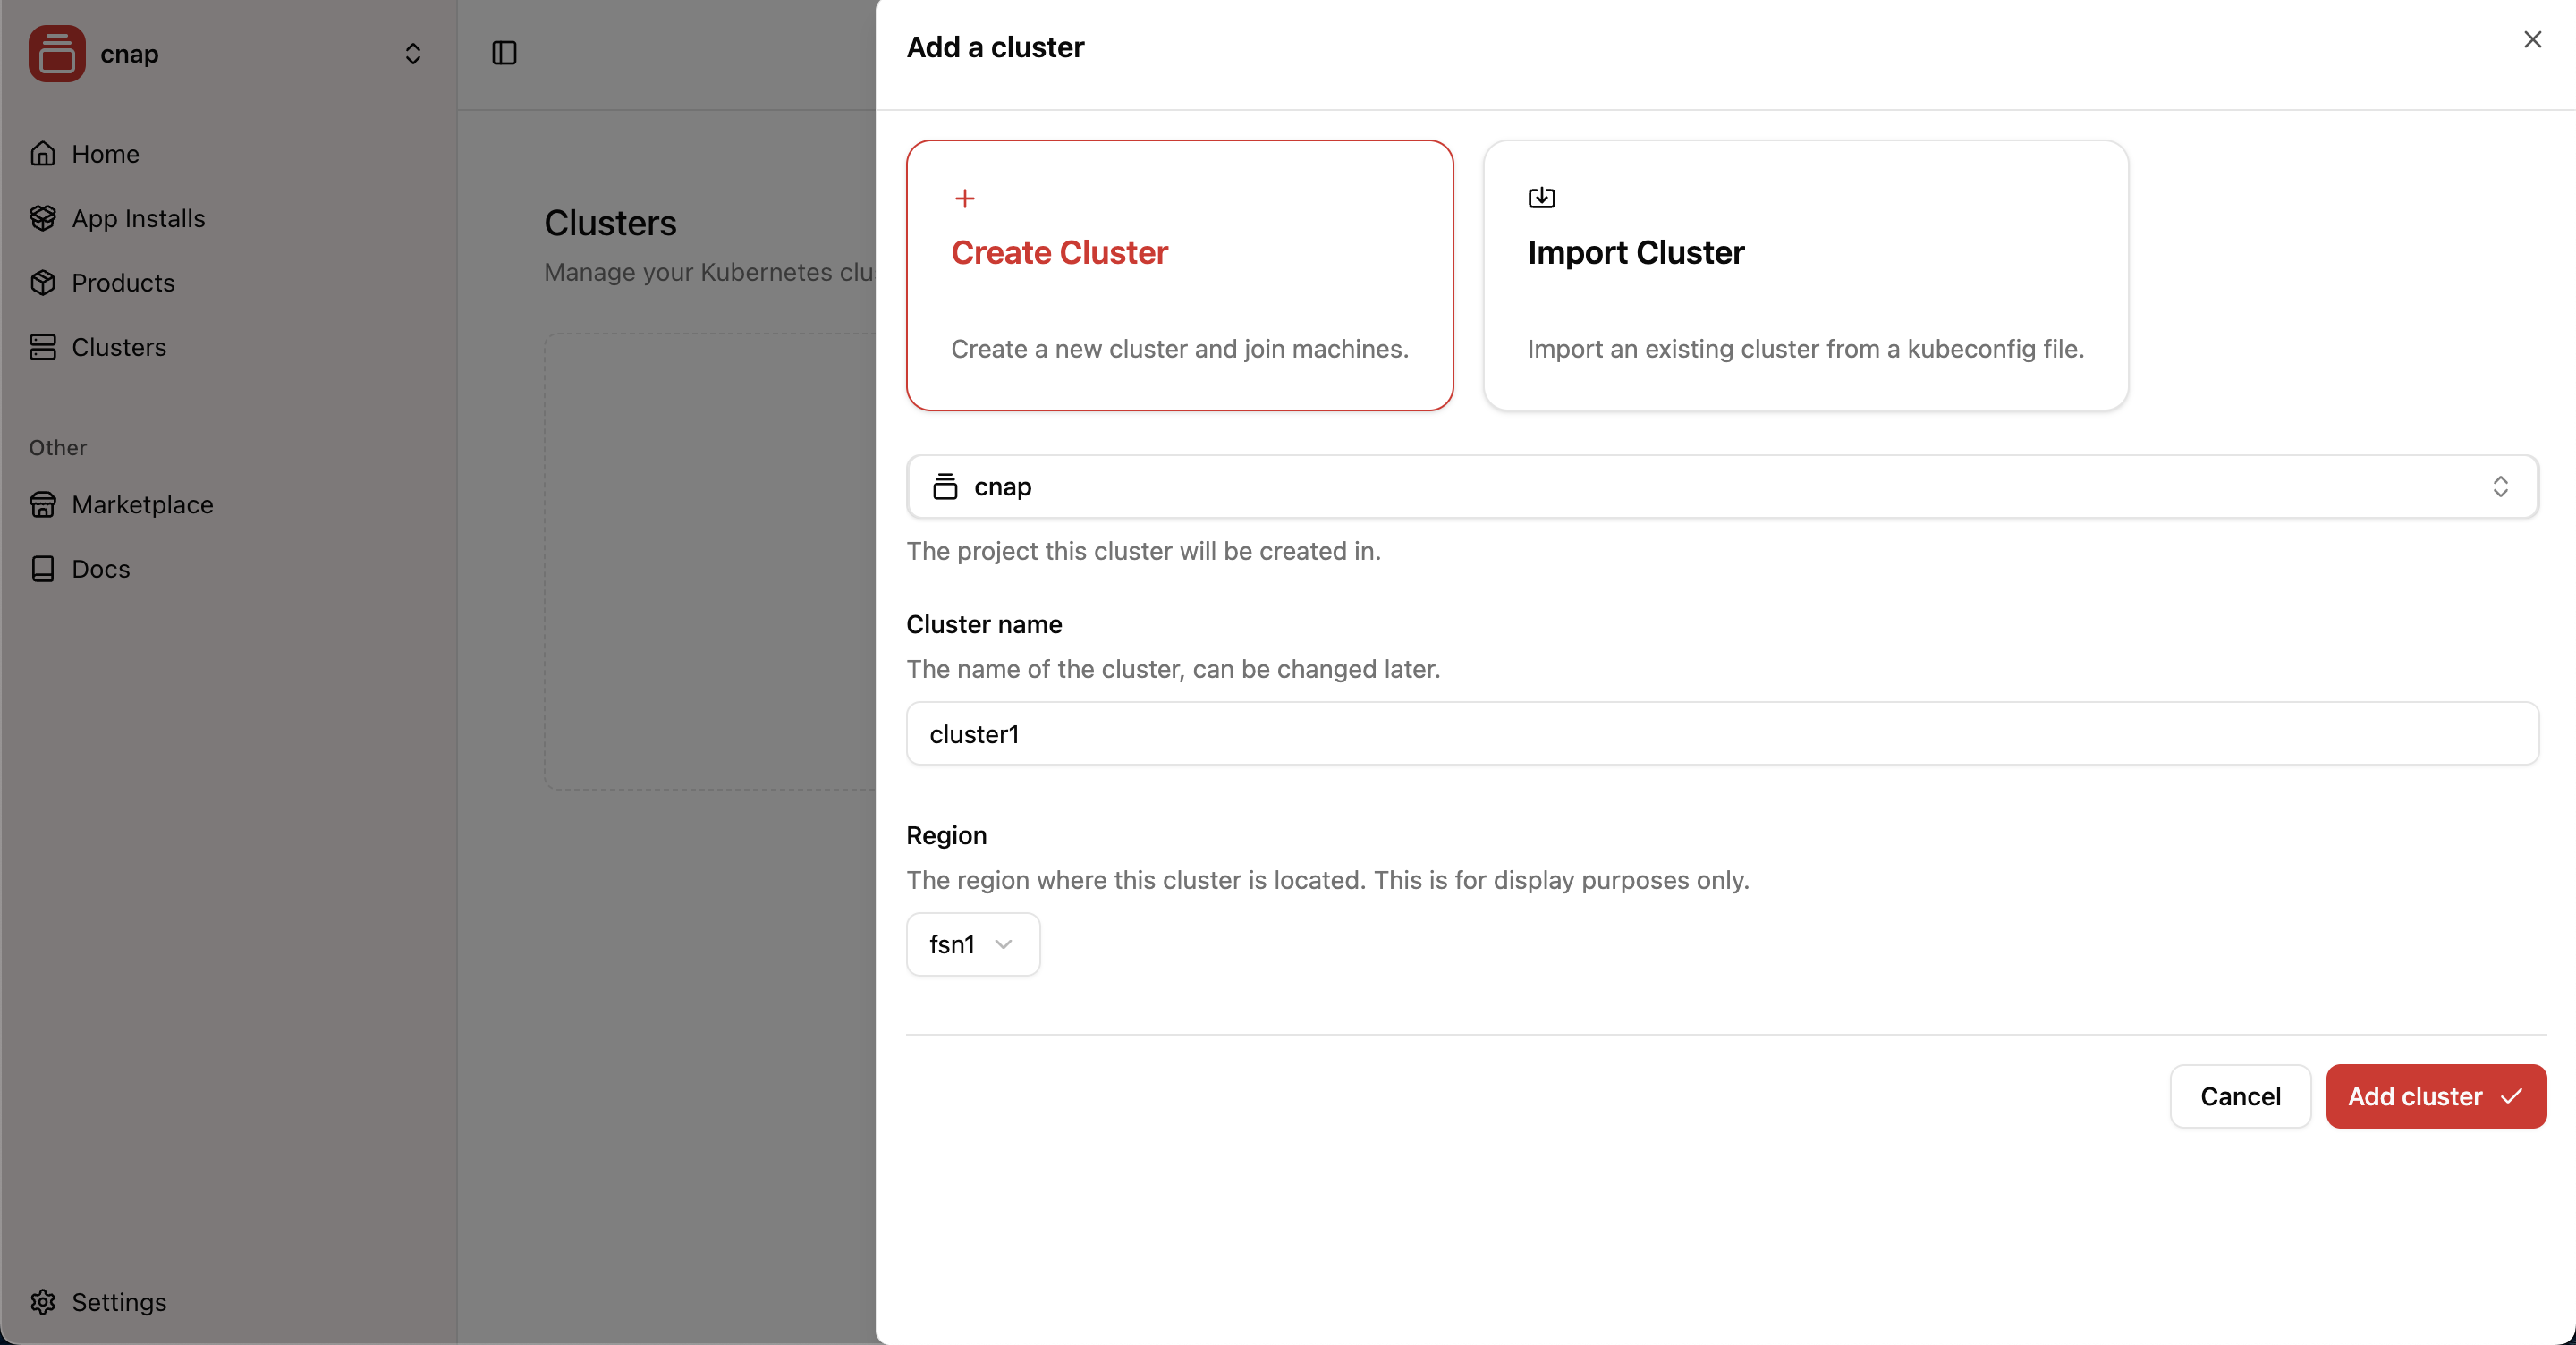 Create a managed Kubernetes cluster where CNAP handles the control plane and all Kubernetes operations, while you maintain control over your infrastructure and billing.
## Prerequisites
* A workspace in CNAP
* Access to the [clusters dashboard](https://cnap.tech/clusters)
## How to Create Your Cluster
In the [clusters dashboard](https://cnap.tech/clusters), click **"Create Cluster"** and choose a region name for organizing your clusters. Regions are custom labels you define to help organize your infrastructure and will be shown to customers when they purchase your products.
Region names are flexible and can be changed anytime. Use descriptive names that make sense for your business, such as "Production", "US-East", "Europe", or "Development".
Choose your cluster configuration:
* **Cluster name** - A descriptive name for your infrastructure
* **Kubernetes version** - Latest stable version (recommended)
* **High availability** - Multi-zone control plane for production workloads
Click **"Create"** to provision your cluster. The control plane will be ready in 2-3 minutes.
You'll see the status change to "Active" when your cluster is ready for worker nodes.
## What's Next?
Once your cluster is active, add workers to provide compute capacity:
Connect compute capacity to run your applications
Understand how clusters work in CNAP
Turn your applications into sellable products
Create a storefront where customers can buy your products
Create a managed Kubernetes cluster where CNAP handles the control plane and all Kubernetes operations, while you maintain control over your infrastructure and billing.
## Prerequisites
* A workspace in CNAP
* Access to the [clusters dashboard](https://cnap.tech/clusters)
## How to Create Your Cluster
In the [clusters dashboard](https://cnap.tech/clusters), click **"Create Cluster"** and choose a region name for organizing your clusters. Regions are custom labels you define to help organize your infrastructure and will be shown to customers when they purchase your products.
Region names are flexible and can be changed anytime. Use descriptive names that make sense for your business, such as "Production", "US-East", "Europe", or "Development".
Choose your cluster configuration:
* **Cluster name** - A descriptive name for your infrastructure
* **Kubernetes version** - Latest stable version (recommended)
* **High availability** - Multi-zone control plane for production workloads
Click **"Create"** to provision your cluster. The control plane will be ready in 2-3 minutes.
You'll see the status change to "Active" when your cluster is ready for worker nodes.
## What's Next?
Once your cluster is active, add workers to provide compute capacity:
Connect compute capacity to run your applications
Understand how clusters work in CNAP
Turn your applications into sellable products
Create a storefront where customers can buy your products